
The good stuff:
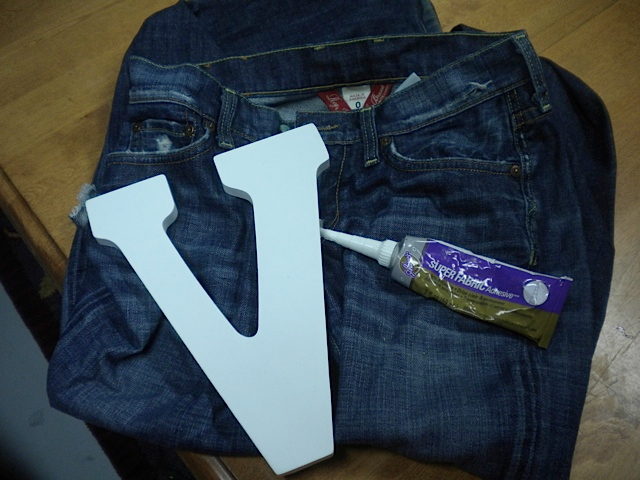
- Old jeans (yours don’t have to have a sob story attached to the tag)
- Decor letter (either a paper mache one or wood or whatever Michaels has)
- Glue (I am using my crazy fabric glue)
- Shears
- Other fabrics or appliques (If you want to add some spice to the plain jean letter)
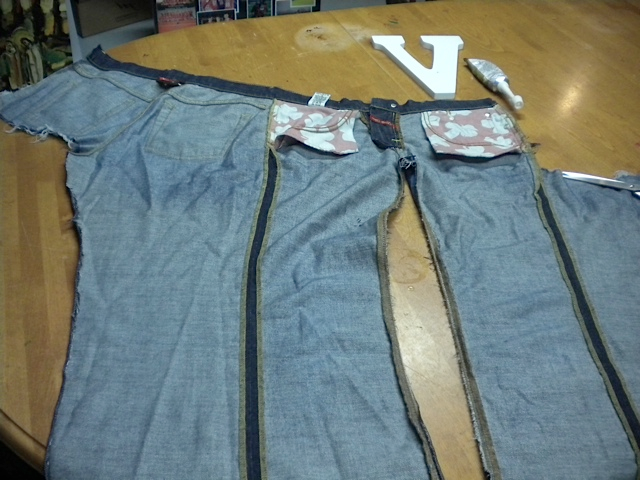
First things first, you have to cut open your jeans so that they are one flat piece of fabric and not like anything that a human could wear. I cut and ripped along the inside seams of the legs to open them up and the huge rip under the left butt pocket helped open it up even more.

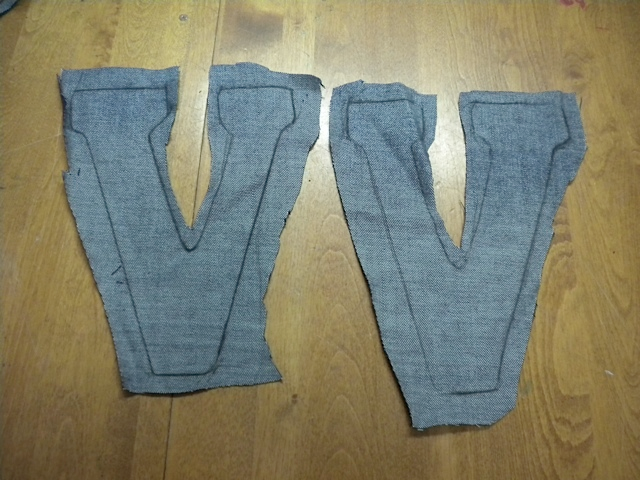
Now, with the inside of the jeans facing up, lay your letter down on a spot that avoids stitching or seams (unless you want a cool seam detail on your letter, then go for it!) and trace around it with a pencil. Repeat for the backside of the letter. Depending on what letter you use, you may need to flip the letter to trace the second one in order to get the right shapes for front and back. For example, can’t use two front facing D shapes. It just won’t work out. Cut out the general shape of the letters you just traced.

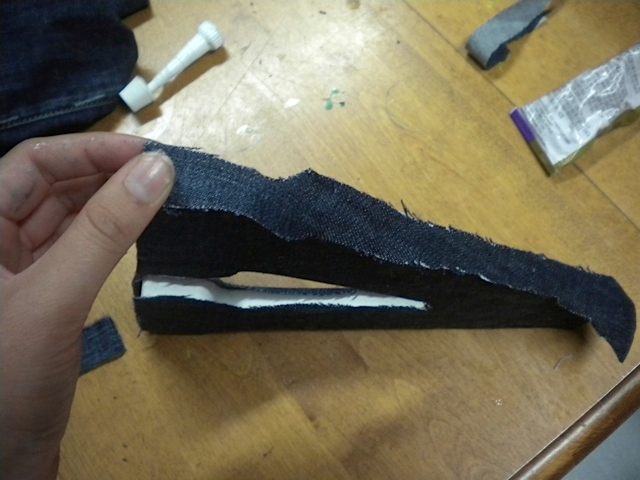
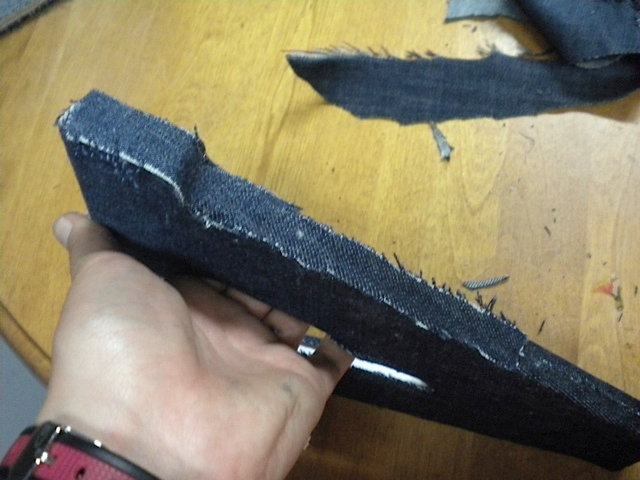
Before I glued the jean pieces down, I trimmed them down so that I had about one-sixth or one-fourth of an inch of wiggle room from the tracing line. Then I spread glue all over the surface of the letter and carefully place the piece of fabric on top of the gluey letter. Smooth out the glue gently and flip the letter over and push down to make sure the fabric is adhered to the letter. Repeat for the back side. My letter has two little holes for hanging purposes on the back, so I just cut into those with my scissors after I glued down that piece.
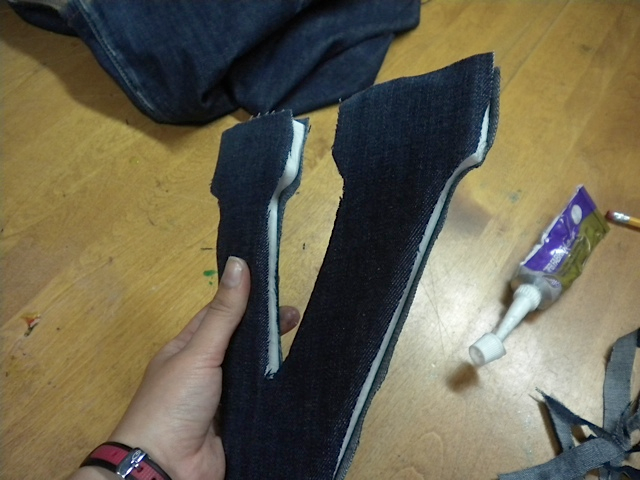
When it came for the edges of the letter, some of the excess fabric folded over the edge and covered it perfectly with some glue. But other places didn’t have enough fabric to cover the edge. In those cases you should use some of the leftover jean fabric you have and cut it into strips the width of the edge of the letter. Glue those strips around the bare edges, and trim excess with scissors. This can create a frayed effect that is actually really cool.
Once you have the entire letter covered, you can either call it quits or you embellish your letter a bit more. Since I really wanted to commemorate my favorite jeans, I cut out a bit of the patterned pocket, the zipper detail and the button and glued them on as well. Any fun fabrics, trim, fabric markers or anything else you have in your craft area can add that little bit of fun!

Yay! You now have a cute letter that is perfect to decorate your dorm room (ResLife probs, yo) or your apartment! It’s also a great gift for your roommates so that you can all have cute letters to hang above your bed or on your doors. Summer is the perfect time for DIYs like this to get ready for your new home next year!
I modified the instructions that are linked below. Follow them for more help.
By: Veronica DeStefano | Images: Veronica DeStefano | Instructions: Source | Inspiration: Source


0 comments:
Post a Comment