
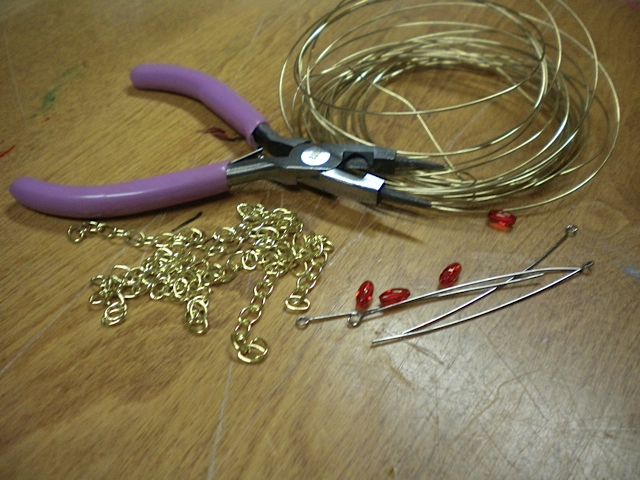
Funky things you need:
- 18mm gauge jewelry wire (I have some from my heart ring DIY. The things I have left over...)
- Round, needle nose pliers/wire cutters
- Chains
- Eye pins
- Beads (These and the eye pins are optional. You could just leave the little chains unadorned.)
Cut the chain into pieces that measure around 10 centimeters in length. It will look cooler if they are varied lengths, so don’t get an aneurism worrying about how long they are. Hold them up along the edge of your ear to see how they will fall when they are on the ear cuff.
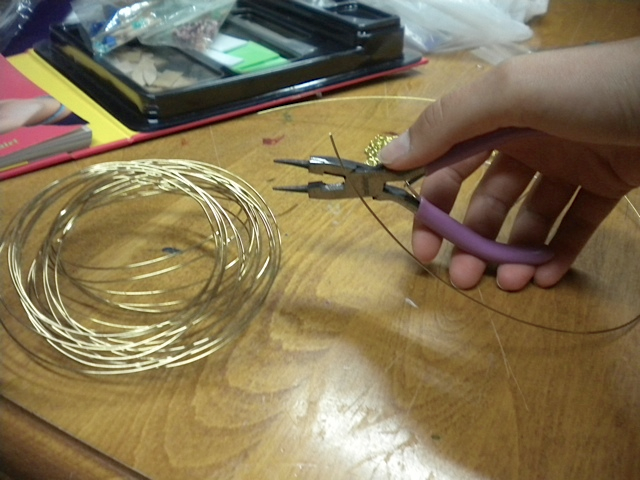
Now that you have your wire and chains prepared, it’s time to start making loops! Take the end of the wire and make a loop by wrapping the wire around the round nose of the pliers. This loop will be at the top of your ear, so you can decide if you want a chain hanging right in front of your ear and slide the loop of the chain into the loop in the wire. Close the loop with the pliers.

After you make that initial loop, round the wire so it will make a shape that will fit around your ear (an arch, if you will, for you Glossers from the Lou). I used my actual ear (fancy that) to help me create that shape, and I remembered, once again, that I have tiny, baby-sized ears.
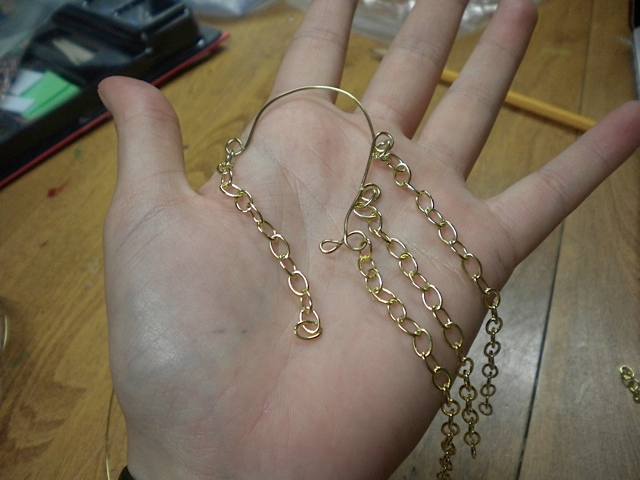
Now we are going to get really loopy. Slide a chain onto the wire and create a loop below it where you will want the chain to hang. Once again, it is helpful to hold your wire up to your ear to figure out where you want the loops for the chain to be placed so that you can be happy with your ear cuff. Slide the chain into the loop and make sure the loop is tight together so that the chain won’t slide anywhere. Repeat that two, three or four more times depending on how big your ear is and how close together you put the loops.

Once you finish with the loops, cut the excess wire off after the last loop or create a small last loop to finish it off. Now, you can add beads to the chain if you want to. I did this by sliding a bead onto an eye pin, or small piece of wire with a loop at the bottom to stop the bead. Then, I took the wire with the bead on it and looped it through the bottom loop of a chain, using my pliers to wrap the wire around so that the bead would stay on. I repeated this for all the chains, but you can just do a bead here and there for accents if you want.

Voila! You now have a hip new ear cuff to wear to any fun and funky events this summer. Plus, it is so quick and easy that you can make multiple cuffs for different outfits or for your friends! (You can be a nice friend and give them to your friends for free or capitalize on your crafting prowess and have them pay you. Hey, it’s better than them paying Etsy.)
By: Veronica DeStefano | Instructions: Source


0 comments:
Post a Comment