
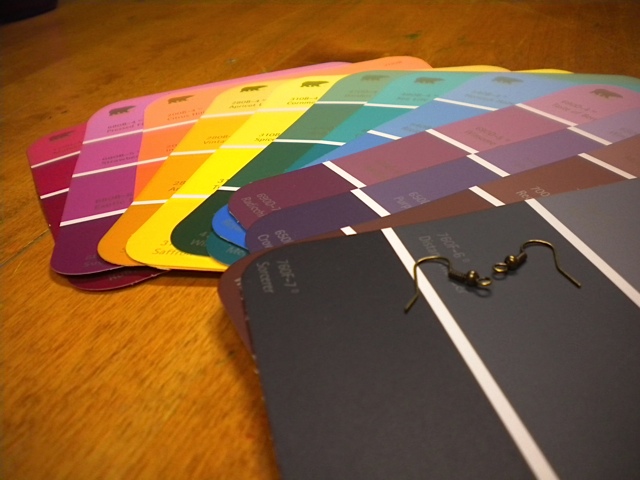
As a child, I loved going to Home Depot just to gaze lovingly at the wall of paint chips. My mom would always let me pick out a couple to take home (the common theme seemed to be bright pink, go figure) and I would put them in my scrapbook. When I was in sixth grade, I got the opportunity to pick two colors for my room in the new house we were building, and I was ecstatic to go through all the lovely paint chips for a purpose. So when Pinterest showed me a DIY using paint chips to create earrings, my trip down memory lane made it a must do!
Chips off the old block that you need:
- Paint chips (Pick the ones that have multiple gradients of a color. I grabbed a whole bunch of the Behr ones, and the Home Depot may or may not have questioned my morals.)
- Earring hooks, jump rings (I have some of this stuff leftover from when I made duct tape earrings.)
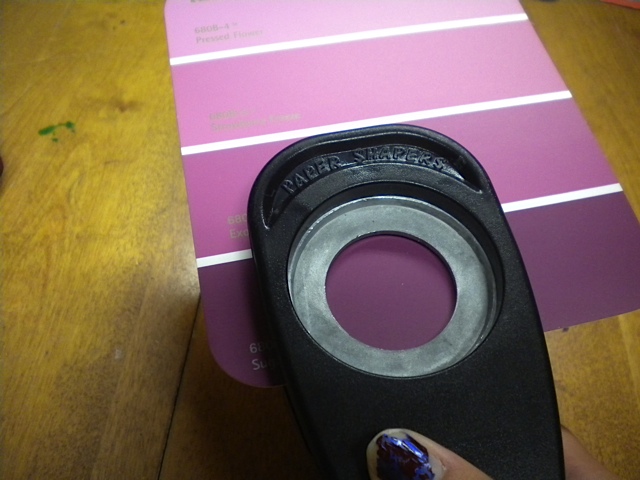
- Circle hole punch (I used one that is 1 ⅜ inches in diameter.)
- Little hole punch (or some sort of needle thing to punch a tiny hole for the paint chips to connect to the earring hooks)
- Glue (a glue stick, adhesive tape runner, tacky glue or whatever)
- Scissors
- Pliers
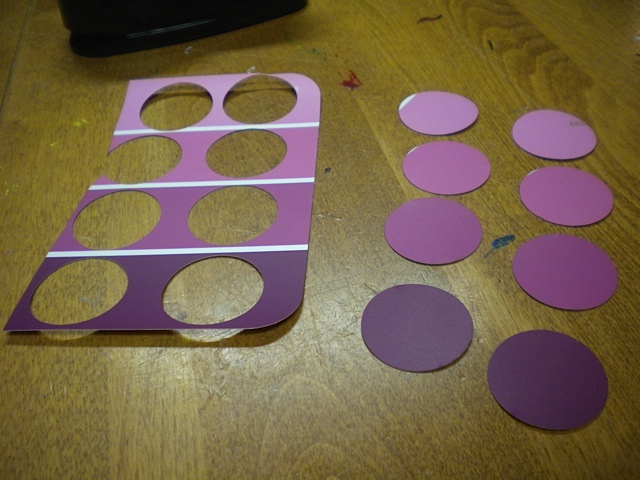
The first thing you will do is punch circles in each color on the gradient. Make two sets of these circles so that you will have a set per earring. I found it easier to cut off the area with the names to get to the plain color area with my hole punch. Pro tip for using hole punches: Flip it over so that you can see the paper through the opening of the punch. This helps you make sure you are punching where you want to.
Now you have to make the big decision of what you want to make your base, either the lightest or the darkest color. To get the classic ombré effect, make the lightest color the base so that the smallest part of the circle will end up being a piece of the darkest color and it goes down to the lightest.
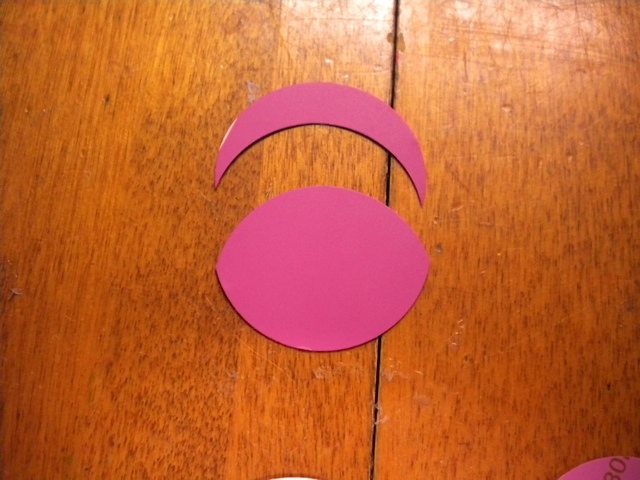
The base color will stay uncut in its circle form. Take the next color in the gradient (a color a shade darker for me), and carefully slide it into the circle hole punch. Have a part of the circle punch area open and not covered by the paper. It should kind of look like the opening is a crescent moon, and the paper is the shadow covering the rest of the moon (or the paper is a gibbous moon, but only people who took astronomy would understand that). Punch that out so that you have a crescent shape and thick almond shape. You will be using the almond shape layered on top of the base. To create the corresponding color almond for the other earring, follow the same punching technique or use the first almond shape as a template to cut the other one out.
Now you move onto the next darkest color, and you follow that same punching technique, except this time you want the empty space crescent to be thicker so that the almond shape is smaller. Repeat for the second circle of that darker color. You now have your darkest circle, and you want to create the smallest almond shape for that so the empty space in the hole punch must be the largest.

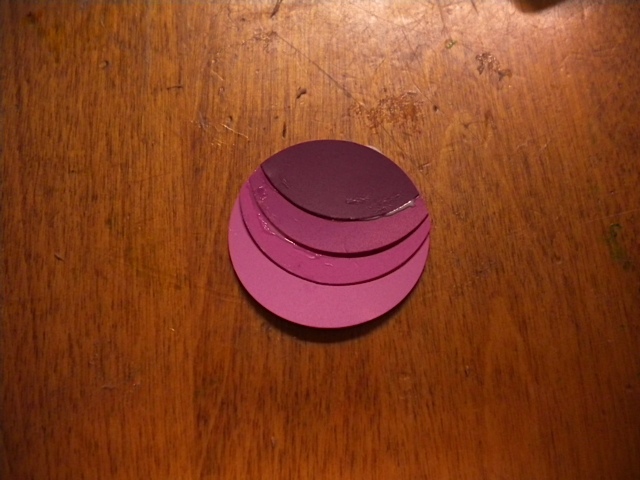
Once you have all your little pieces cut out, you can start layering by placing the biggest almond piece on the base piece by lining up the cut edge to the top edge of the base circle. Put glue of some sort on the back of that piece, and place it down on the base.
If you don’t believe in the strength of your hole punch, punch holes in the same place on each of the four pieces for the earring before you glue so when it is all glued together you can attach an earring hook. To get the most accurate punching, punch the first piece, line up the next piece under it, and punch through the hole you already made. You also can use a heavy duty punch and wait until the end to punch through all the glued pieces.
Now back to the layering business. Once you have glued down the biggest almond piece, take the next smallest piece and line the cut edge up to the top edge of the base circle, and glue it there. Repeat that for the smallest piece, and do the same steps for the second earring.


Wait for the pieces to dry a bit before you punch the little hole through the top. Once you have punched the hole, you have the option of using two jump rings to attach the ombré circle to the earring hook or to just open up the loop at the bottom of the earring hook with your pliers. I chose the latter because it will have the circle face the right way without the added annoyance of opening and closing two jump rings. Use the pliers to close the loop back up.
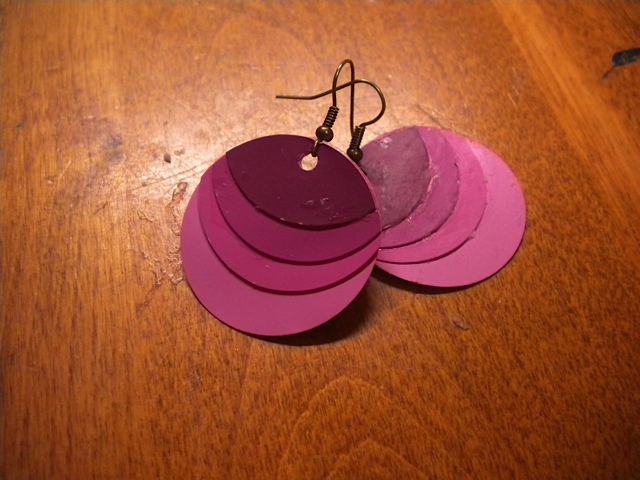
Voila! You now have a set of über trendy (and über inexpensive) earrings! Grab a whole bunch of colors and make lots for you, your mom, your aunt, your grandma, your friends and even your enemies because it’s that easy. You can always switch this up by using multiple different colors in the earring or using a different shape punch. You can use Mod Podge (my best friend) to be the adhesive and sealant if you worry about the staying power of your earrings. Chip it up!
By: Veronica DeStefano | Instructions: Source


Nice creativity this is awesome thanks for sharing . I also like the earrings . I buy last week Fashion Earrings Online
ReplyDeletetinder pick up lines
ReplyDeletetinder pickup lines
best tinder pick up lines
reddit pick up lines
tinder lines
You are the best pest control company in Madinah, specialized in insect spraying and elimination of all types of insects. It is one of the best pest control companies in Madinah, which uses the best
ReplyDeleteافضل شركة مكافحة حشرات
شركة مكافحة النمل الابيض بالجبيل
شركة مكافحة حشرات بالجبيل
شركة رش مبيدات بالجبيل
Thanks for sharing. Keep it up. Also visit Bolt Supplier and Fasteners Manufacturers in India
ReplyDeleteTag Archives - 11bet - Vntopbet
ReplyDeleteTag 11bet Archives 바카라 사이트 - 11bet dafabet - Vntopbet
Thankyou for information Also go through with Bhansali Fasteners.
ReplyDelete